
Learning new facets of food photography is a never ending affair! I had started off practicing food photography with a phone camera! He knew what was good for me to gain expertise in photography and I was gifted with a Nikon P500. My true efforts were put in and Food For Joy made its way to the online world!


Today when I look back, i.e. starting from Blogspot until today, it brings a smile on my face. :) 2012 passed in a way that helped me grow strong, mature and realize the little important aspects of life. Thanks to the chain of events, the wedding, demise of my mother, travelling to new places, the shift to “Shimoga” and a switch in career! Amidst all this “Photography” and “Food For Joy” happened as well.
Few responsibilities have come over during 2012 and I feel happy to take them up. Although there would be a few instances where I would dawdle about on wasteful things, just like how I used to during my college days. Still, it is not the same lazy life now. It is disquieting to think about the fact that we have only one life to live and a lot of dreams to fulfill. :) These thoughts started haunting me once I left my first job. There were fears of how to plan ahead. Well, just as I moved to Shimoga, things just fell into place; now, I’m happy as ever with a new set of things to do.
My passion for food photography will remain eternal. This has always been my part time work that includes cooking, photography, writing and designing. Let me tell you, my initial days with the camera were disappointing. I wasn’t able to get the right shots. “A P&S camera in hand might not help me much. I need a better one for capturing good food.” This is how my mind worked initially.


On the other hand, I now realize I was wrong in entirety. A rigourous study of the camera is the first task any learner must get into. Today whenever I sit down on a free hour I look into the settings and everything seems to be new again. Every time I change the ISO, the Shutter Speed or the Aperture I get a new picture. Discovering new angles of photography, playing with different colored props and getting the required shots is a prolonged activity, however, the end result is what we must look into. Patience has taught me a lot and it is the first medicine one needs to consume for being a passionate photographer. ;-)
Every subject in this scientific world has no boundaries. The amount of attributes to be studied in any field is limitless. Its the same with photography. If one is able to study his/her camera completely and produce good shots, that is the beginning. Unwinding more aspects of photography and seeing the world through different lenses is a never ending process. I simply hope to discover more magic through a wide number of clicks!
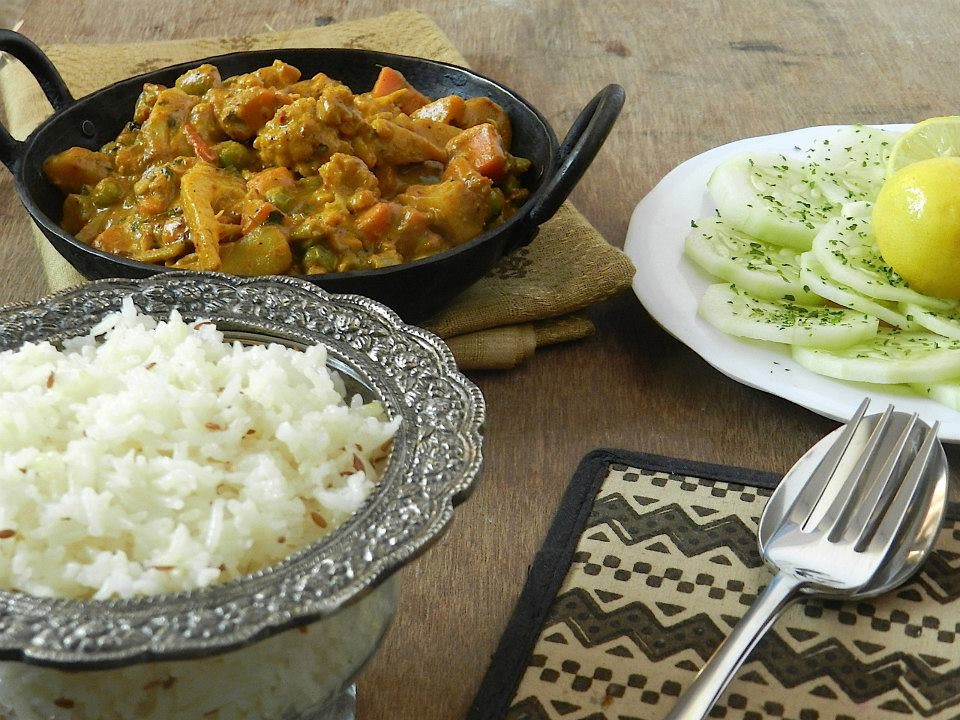
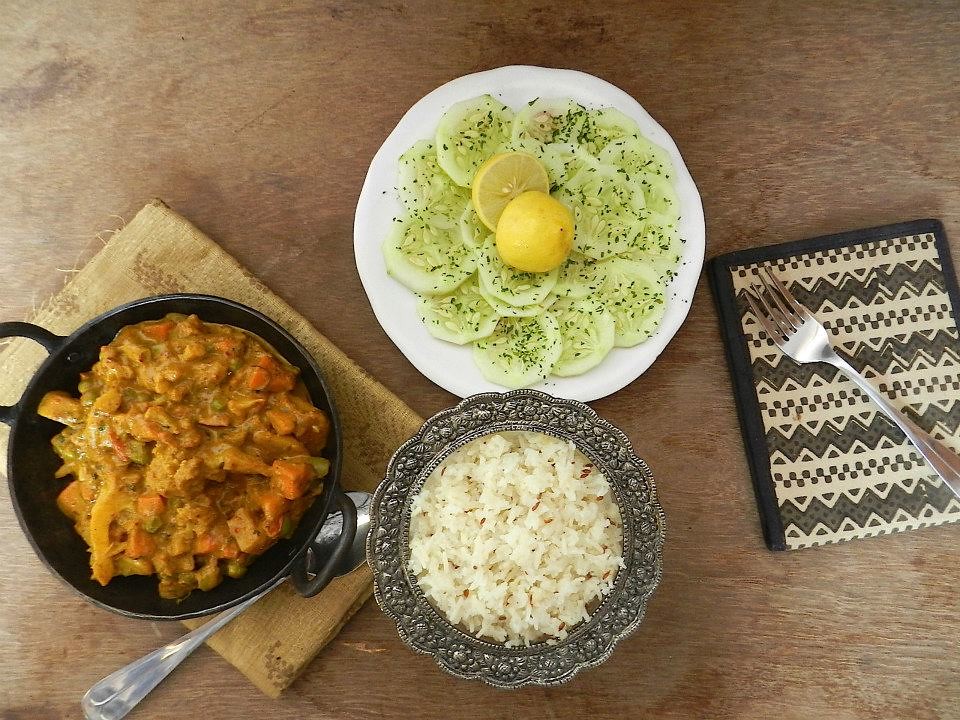
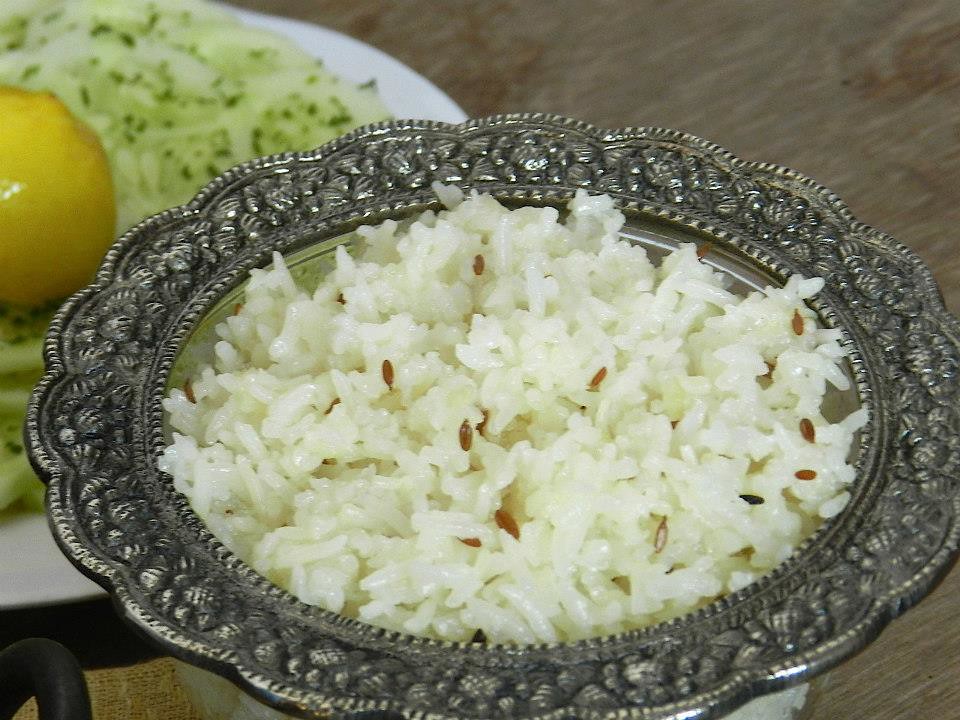
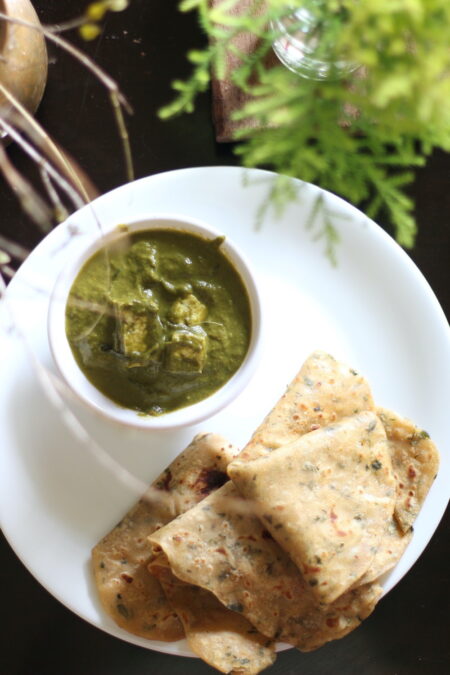
This is one of my treasured posts since it was my recent undertaking; Kadai Vegetable Gravy with Jeera rice! By the grace of God, the gravy tasted as I wanted it to. Mild in flavors, rich in taste and texture. A lot of ingredients go into this gravy but it is worth the hard work. A weekend lunch went smooth and I was happy with the fact that the bowls of gravy and rice were clean after the meal.
Kadai Vegetable with Jeera Rice
- Jeera Rice is a simple preparation made from rice and tempering it with cumin seeds. Kadai Vegetable, is a gravy made in a Kadai (Wok) that goes very well with jeera rice or rotis / chapatis.
Ingredients
-
Vegetables
- 2 – Carrot – (Chopped)
- 4-5 – Green Beans – (Chopped)
- 1/2 cup – Green Peas
- 2.5 cups – Cauliflower – (Cut into florets)
- 2 – Tomato – medium sized (Chopped)
- 2 tbsp – Vegetable Oil
- 1/4 tsp – Asafetida (Hing)
- 1 tsp – Cumin Seeds
- 1/2 tsp – Garam Masala
- 2 tbsp – Kasuri Methi
- 1 tsp – Sugar
- 1/2 cup – Milk
- 1/2 cup – Fresh Cream
- 1 cup – Water
- 1.5 tsp – Table Salt
- 3/4 tbsp – Coriander Seeds
- 1/2 tbsp – Cumin Seeds
- 4-5 – Dry red chillies
- 20 – Cashew Nuts – Whole Kernels
- 1/2 cup – Coriander Leaves – (Chopped)
- 2 tsp – Cumin Seeds
- 2 tbsp – Vegetable Oil
- 1 cup – Basmati Rice
- 2 1/4 cups – Water
- 1 tsp – Table Salt
Tempering
Flavoring
To be ground into paste
Jeera Rice Ingredients
Directions
- Note : Use an Iron Wok / Iron Kadai for this gravy. It gives a very good taste to the dish.
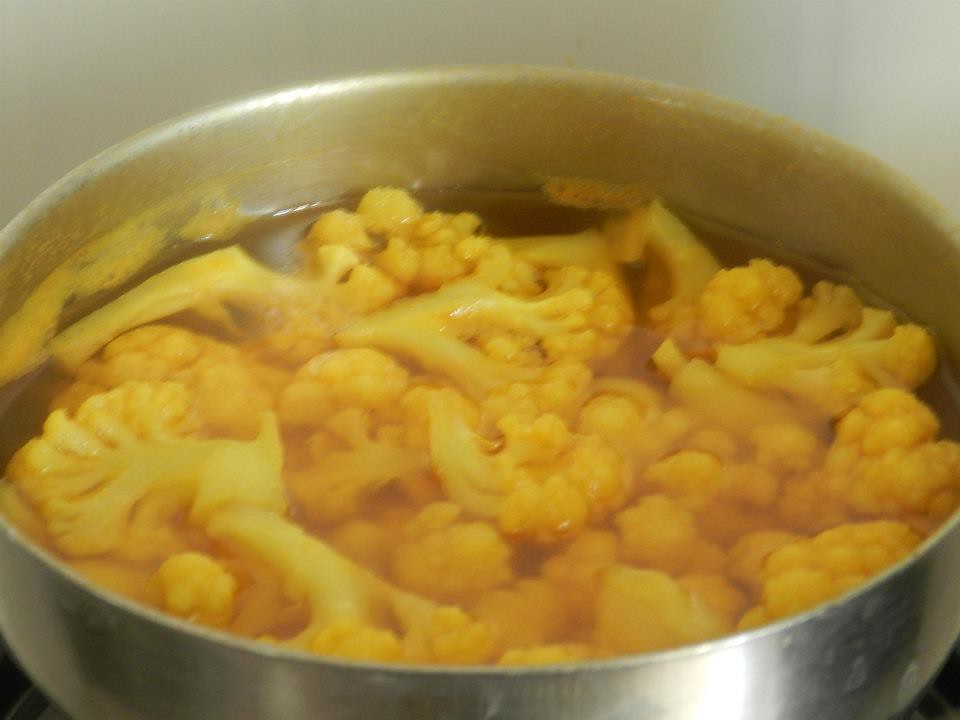
- In a saucepan add the cauliflower florets with 1/2 tsp of turmeric and 1 tsp of salt. Add enough water to cover the florets and bring this to a boil. Let the cauliflower cook for 5 minutes in the boiling water. Keep folding the florets until all of them are coated with yellow turmeric. (This is just to ensure the cauliflower is free from maximum dirt and germs) Strain the water and keep the florets aside.
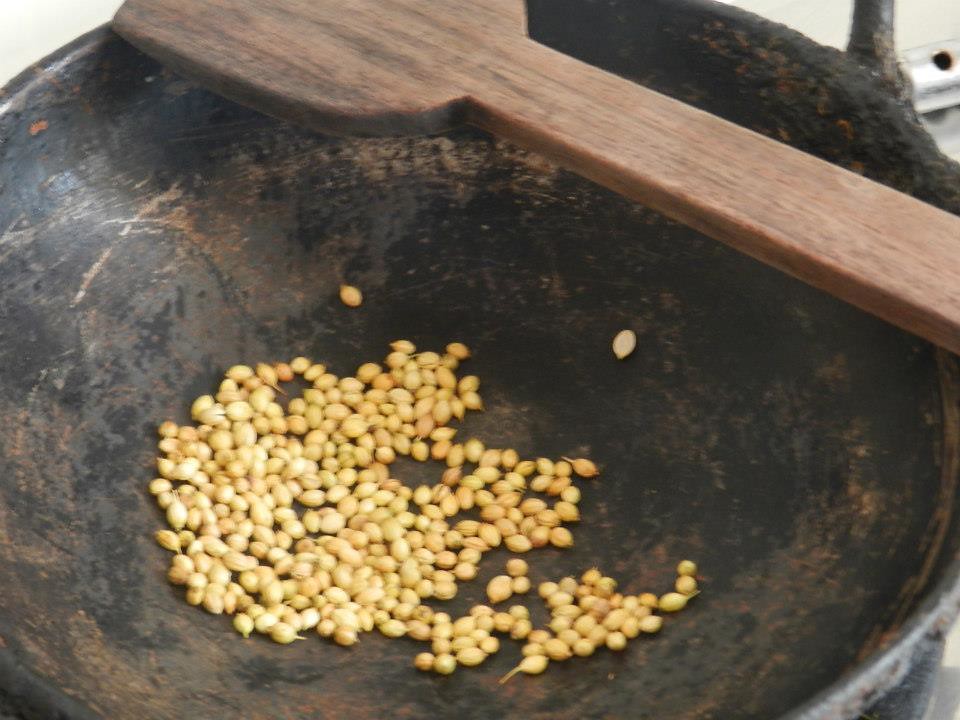
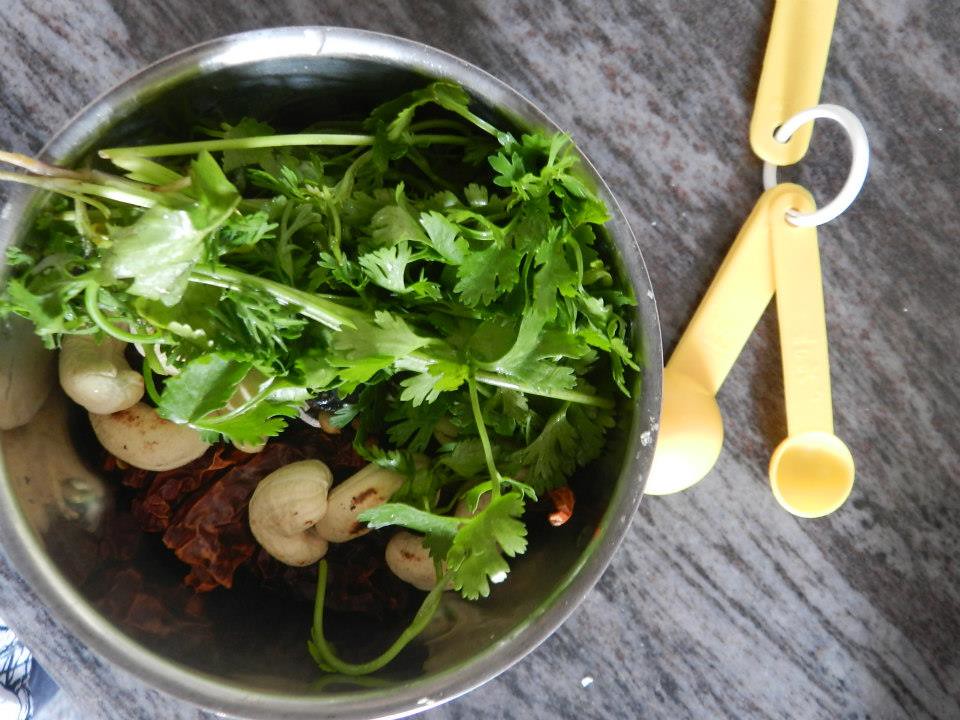
- Prepare the masala:
- Dry roast the coriander seeds for 5 minutes on a low flame. Keep it aside.
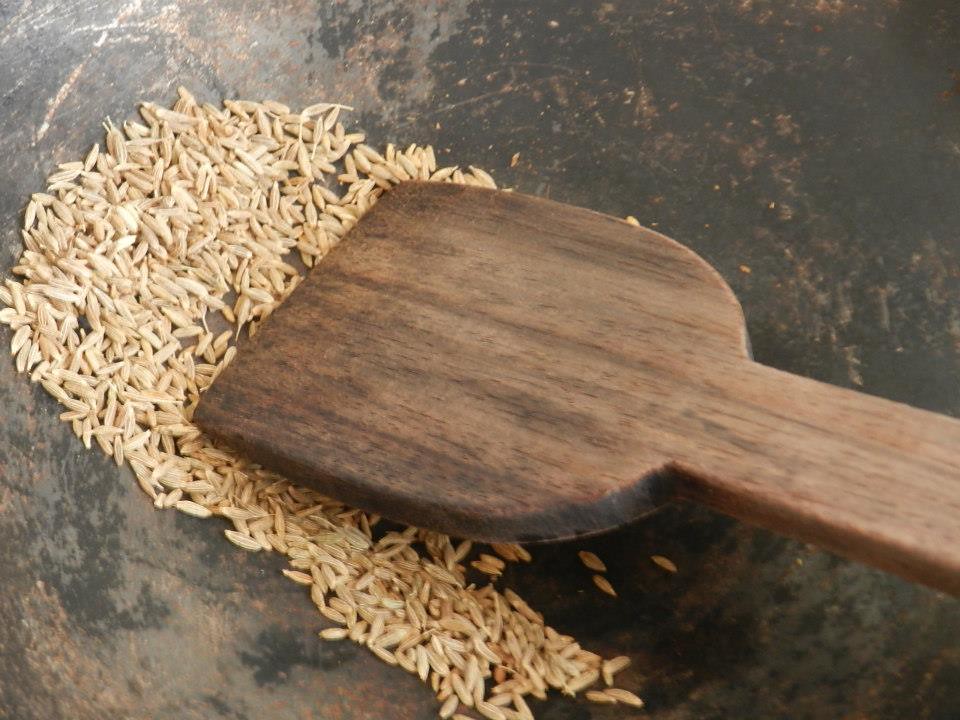
- Dry roast the cumin seeds for 2 minutes on a low flame. Keep this aside.
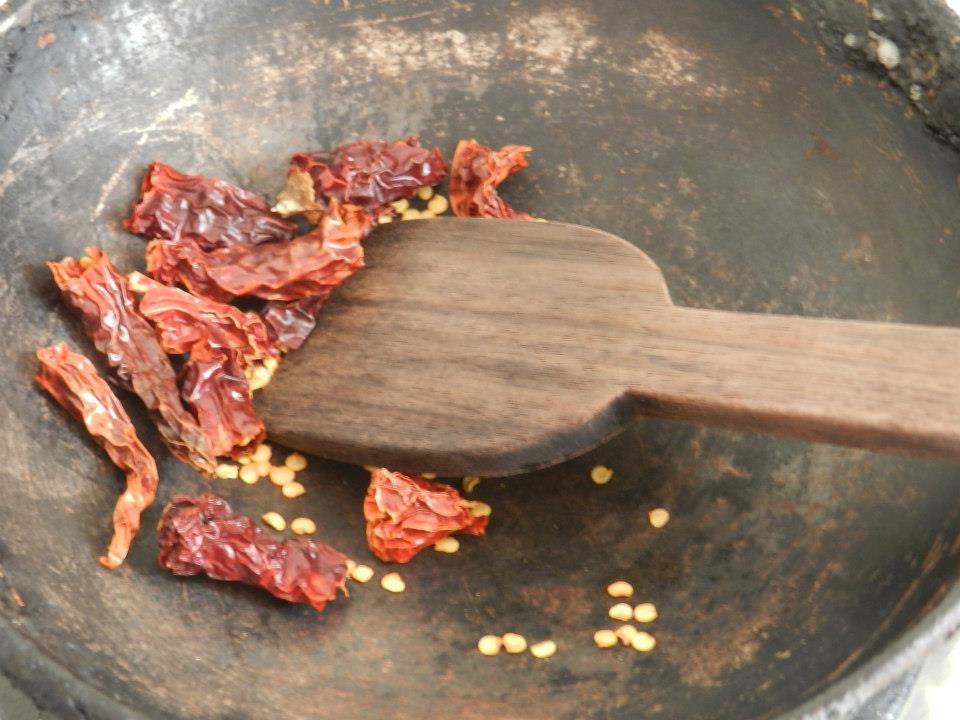
- Dry roast the red chillies for 5 minutes on a low flame. Keep this aside.
- Dry roast the cashew kernels for 5 minutes. Keep this aside.
- Add these ingredients in a blender along with coriander leaves. Grind into a smooth paste by adding a little amount of water. Keep this aside.
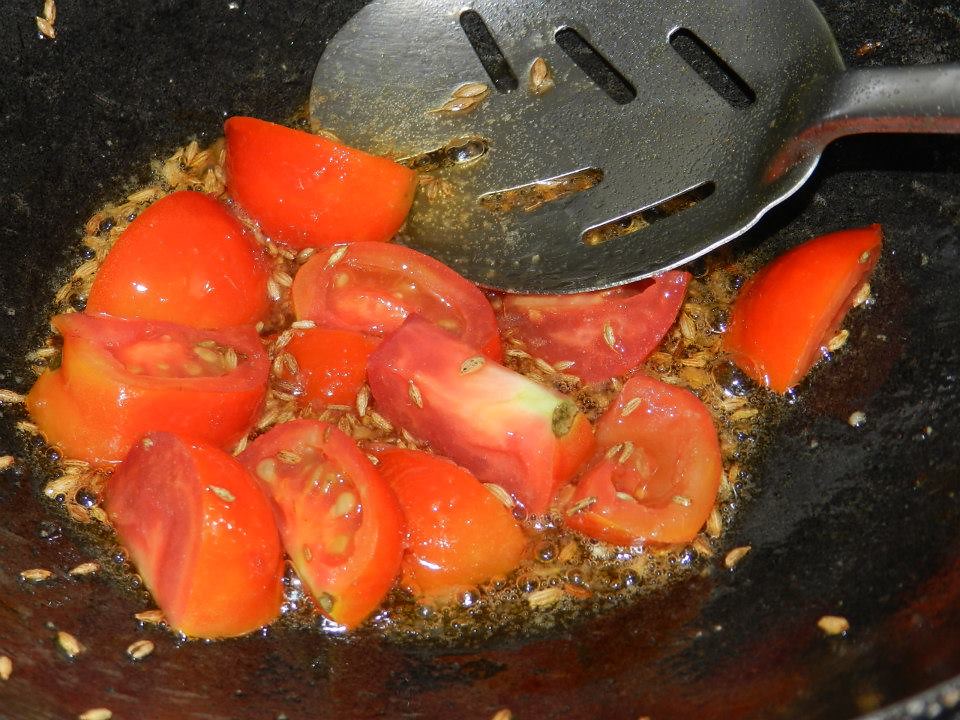
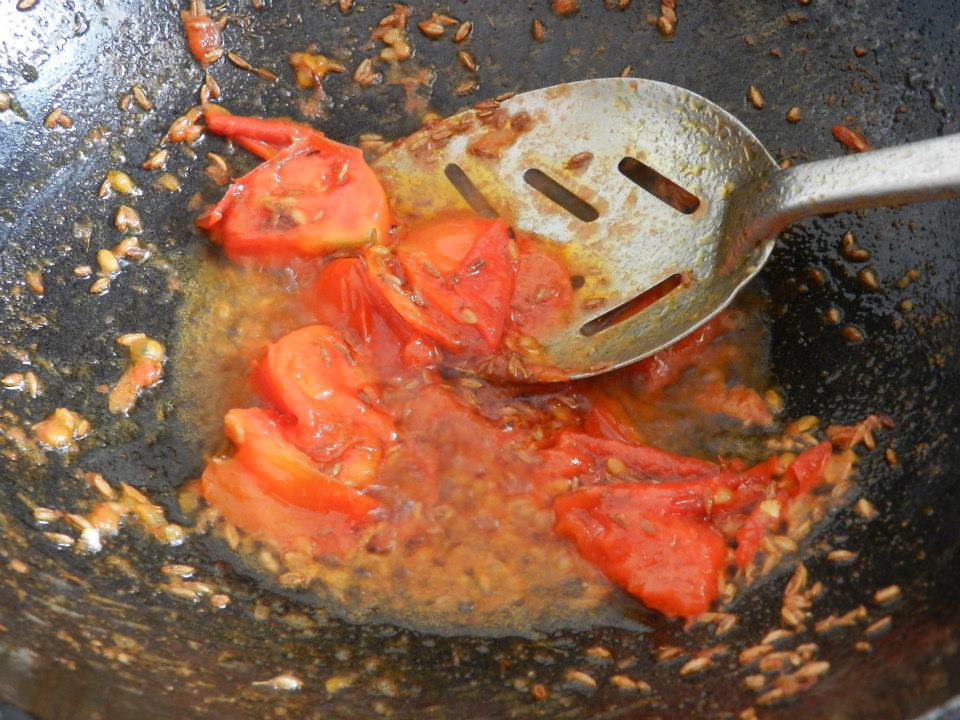
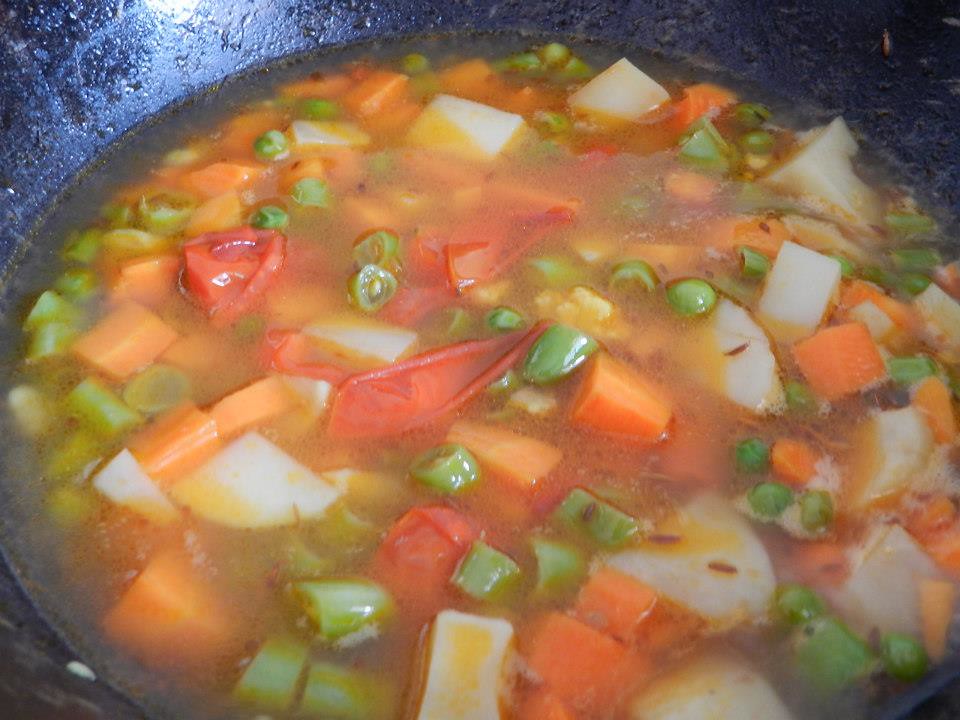
- In a wok (Kadai) Add the oil, asafetida (hing) and cumin seeds. When the seeds start frying, add in the tomatoes and fry them for about five minutes on a medium flame or until all the tomatoes have mashed well.
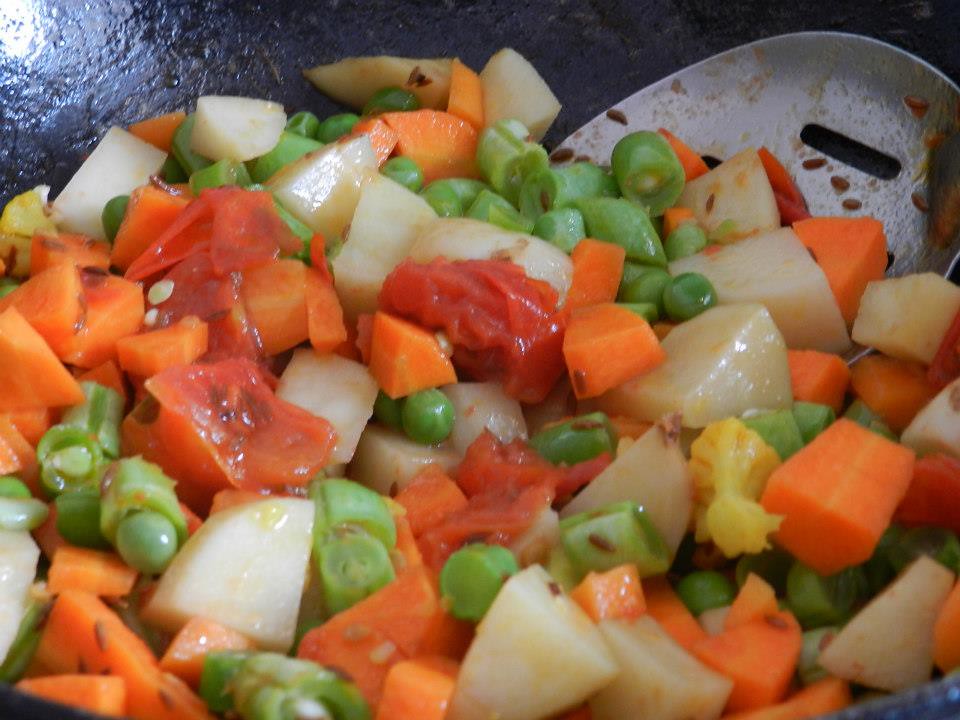
- Add in the chopped vegetables except the cauliflower. Stir fry the vegetables for 5 minutes on a high flame and then add 1 cup of water. Cover with a lid and let this cook on a high flame for 5-6 minutes.
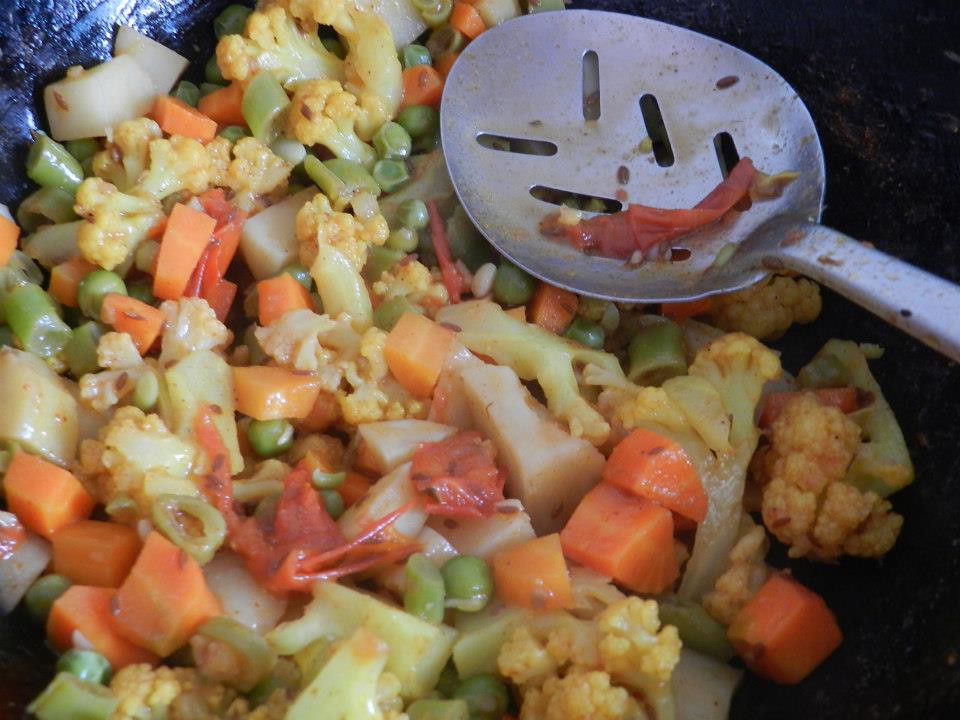
- After the vegetables have cooked, add in the caulifower and garam masala. Mix well.
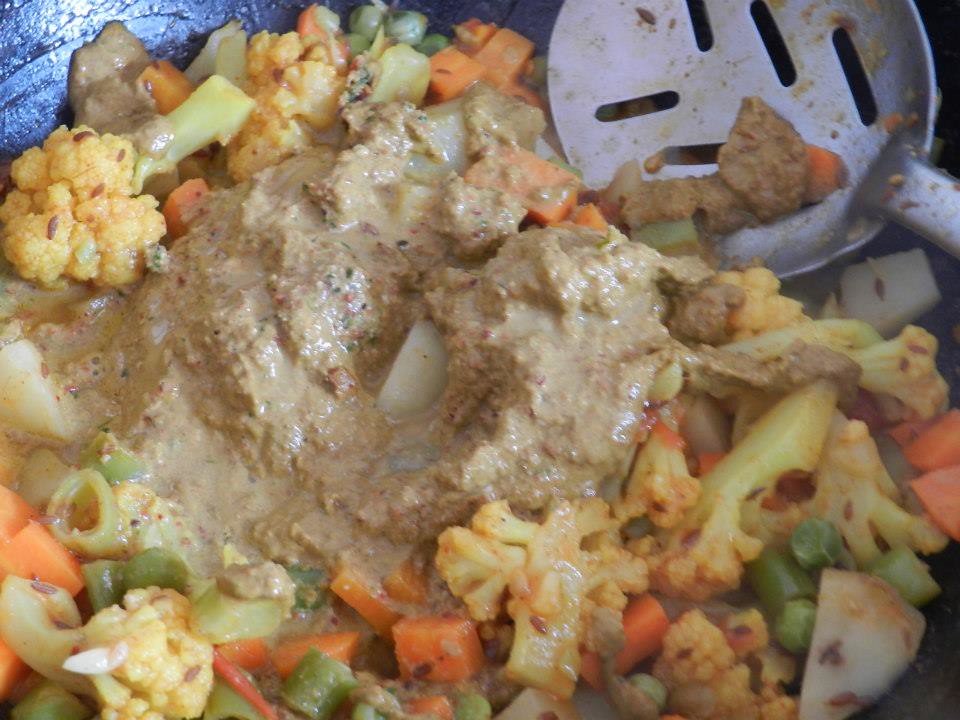
- Next add in the masala paste that was prepared at step 2. Mix gently to coat all the vegetables with the masala.
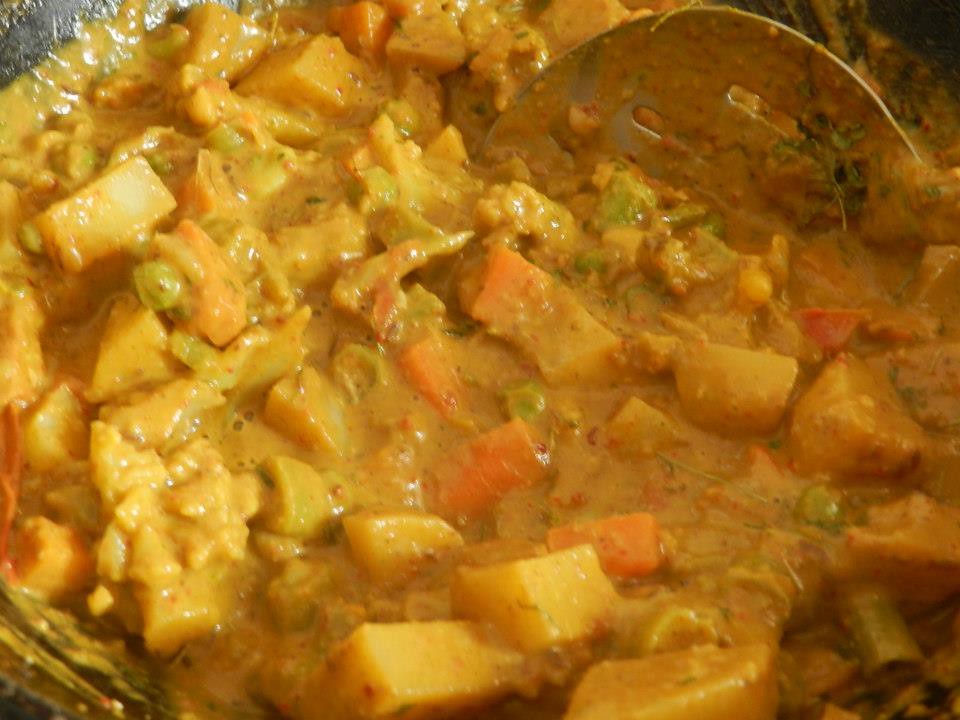
- Lower the flame, Add the milk and cream. Mix gently. Bring it to a boil on a low flame, add kasuri methi and turn off the heat. You can garnish this with roasted cashew nuts and coriander leaves. Serve hot with Jeera rice or rotis.
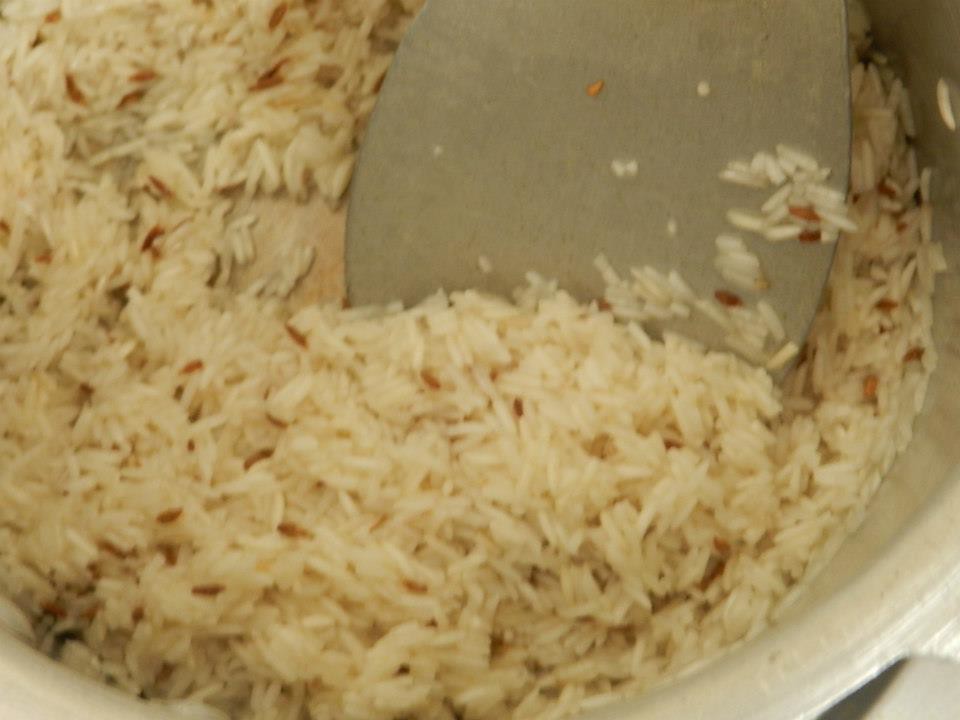
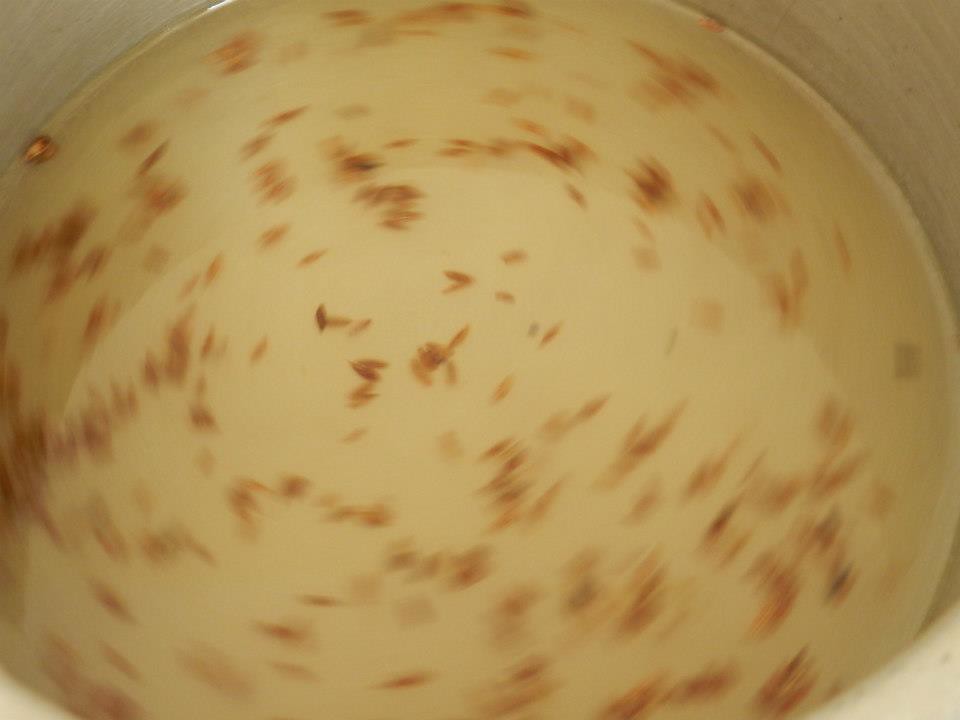
- Wash the rice thoroughly with water.
- In a wok, add in the oil and cumin seeds.
- Once the cumin seeds start frying, add in the rice and stir until the rice is coated with the grease.
- Add in water and salt. Mix well. Bring it to a boil. Simmer the flame and Keep it covered for 10 minutes or until the rice gets cooked. Serve hot with Kadai vegetable or any gravy of your choice.
Kadai Vegetable Recipe


Jeera Rice Recipe
hi prathiba your recipes are too good …..
Thanks :)
Pingback:Food For Joy! - Layered Vegetable Biriyani with Cucumber Mint Raitha
Wow what a coincident was just thinking about visiting your site few mins before and I see you message in my site. Love u pratiba. Kadai vegetable is my favorite dish for jeera rice and chapathi and u have made it beautifully.
Thank you Janani :)
looks like the ones we get from the restaurant. i might try this during weekend. hope it goes well.
need recipe of vermicelli upma. i keep trying but it vain. it gets messy all of the time. i do not know cooking. learnt upma and akki rotti from your site. it always come good.
Ok I’ll post that for you. All the best for your weekend venture! Happy that the recipes come out good for you:)
my friend tried ur kadai vegetable recipe. i just helped him. it came out good. we dint have red chilli so used green chilly.. taste was verygood. we made plain rice to go with it.. one tip: addditon of butter makes it more tasty.
Maam I used to a silent admirer of your work. i just couldnt resist praising this post and the hard work you have put in. simply amazing pictures. the steps you give are so damn good. any body can learn cooking through your site. i just love food for joy. i keep checking in daily just to see your photographs again and again. even the writing is so elaborate and elegant. keep up the good work. please don get me wrong. but im a huge fan of you maam.
Thank you for your words Mayank! Glad you like my site.:)
ooops typo!
*Split :-)
P.S : you might probably want to start photography series / tutorials on your blog. would love to see how you do all the beautiful work. B-)
The props are lovely! lot of warmth in the post. blissful photographs.. :-) :-) btw when you add milk here wont the milk spit? In case I dont have cream what else can I use?
Divya, the milk is added on a low flame and also cooked at a low flame. If you cook this dish for a prolonged period there are chances of milk getting split. Immediately turn off the heat just when it comes to a boil. Photography series? Hmm I haven’t given it a thought yet :) Lets see. It’ll definitely take some more time. Thanks Divya. :)
You can replace 1/2 cup cream with 1/2 cup milk. So in total you will have to add 1 cup of milk if you skip cream.
looks yummy.will try it.
Yeah. Hing is more than sufficient if you plan to skip onions and garlic :) I am totally away from using garlic.
good…no much of masala… my mom usually doesn’ like lot of onion and garlic flavours..